Wherever you are in the world, chances are you’ve spent the past couple of weeks at home, with limited options when it comes to the little luxuries we’ve taken for granted: Sunday brunches we don’t have to cook (or clean up after); the occasional relaxing facial; even a simple file and polish.
Even as things reopen, it may be tempting to take matters into your own hands, especially when salon services remain limited. But surely beauty professionals undergo training for a reason? What salon services can you happily attempt at home, and what’s worth waiting for? Here are some Dos and Don't of DIY beauty.
Sugaring
These weeks of shutdown have been tough on us all – but even tougher on those who choose to have their body hair professionally removed. (No, it’s not necessary; yes, you’re beautiful as you are; yes, some people still do it; no, they’re not in denial as to the unrealistic beauty standards that underpin their choice.)
After this long, taking some at-home wax strips or a pot of DIY sugaring wax (sugar, water and lemon juice) might start to sound like a great option: but should you ever embark upon an at-home hair removal regimen (beyond shaving or epilating) with zero training whatsoever?
Lindsay Leggett, owner and founder of The Sugarist boutique sugaring studio, says no. “Breakage is a big risk,” she says. “I’m a professional and I still break hair on the odd occasion – it can lead to painful ingrowns that take weeks, if not months, to sort out.”
She also says that the angle required to properly remove the hair – sugaring goes with the direction of growth, rather than against – means that, even for the most flexible among us, getting a decent bikini line result would be almost impossible.
If it’s too late for you, though, and you’ve done the deed already – with the ingrowns to show for it – Leggett recommends using a mineral mud mask, removed with a hot flannel, several times a week until the hair comes up to the surface. “If you can see enough hair to grip on to, soak the area in a hot cloth and try to tweeze it out – but do not try to break the skin, or root around in there, to coax it out. The follicle will get infected and it will take even longer to get rid of.”
Manicures
There’s something incredibly relaxing about the in-salon mani-pedi experience: the warm water baths, the fragrant cuticle oil at the end, not to mention that precise application that can rarely be replicated. But when it comes to nails, is there really any harm doing yours at home?
The general consensus is that the at-home file-and-polish is a low-risk activity, and something that can be done with friends and kids, while watching TV or listening to a podcast.
It’s when we get down to the nitty-gritty that things get hairy: heavy-duty foot files, file-off gel polishes and cuticle cutting can all do more harm than good if the tools end up in the hands of the untrained.
Juanita Hubert-Miller, founder of Townhouse nail bar, tells Refinery29 that what most people refer to as the cuticle – the fold of skin at the base of the nail – is actually the eponychium, and it’s “absolutely fine to push it back.”
It’s best done, she says, “after a shower or a bath”, but while cutting the cuticle can be done – in a salon with professional equipment and by trained experts – it’s absolutely not necessary and “a matter of preference”.
The same goes for your feet: soak, buff, file and polish all you like, but be wary of going at your own feet with anything stronger than a pumice stone or foot file; you don’t want to end up with a nasty – and avoidable – skin infection when you do make it back to your favorite salon.
As for filing off your gel polish, don’t do it! Filing the nail surface will weaken it considerably and may even cause pain that won’t go away until the nail grows out.
Celebrity manicurist Tracyle tells Allure that you should file off the top layer only, to “break the seal” of the cured gel. Then use acetone-soaked cotton balls to soak off the rest of the polish, wrapping a cotton ball around each nail and covering with foil, leaving for 15 minutes or until the polish has started to lift and can easily be removed with a cuticle stick. The trick? Patience – and lots of it!
Hair color
We’ve all heard the ads for “at-home hair color that gives salon results”, but we’ve also seen the results of the box dye that most definitely did not produce the glistening hue promised by the packaging. Twelve weeks into root regrowth we were not prepared for, the temptation to DIY is very real – but the question is, should we go there?!
The issue with at-home box dyes is that they offer a one-size-fits-all solution, with no consideration of hair type or condition, and no way of balancing out previous color treatments. So for anything dramatic – a total colour overhaul, a difference of over two tones or a bleach job (and yes, that includes brown roots on a blond head), the general advice is to leave it to the experts.
However, according to an interview by Byrdie with Mahshid Baghaei, a colorist at NYC-based mizu Louis Licari salon, covering up greys or marching your current hair color are pretty safe at-home bets.
And don’t forget: semi or demi-permanent hair colors offer less of a risk than permanent, although once you do go back to your own colorist, she or he may want to wait for all of that dye to wash out before touching your tresses.
Ultimately, unless you have a major root emergency (like a job interview, or the most important date of your romantic life), the best option is to wait to have your hair handled by a professional.
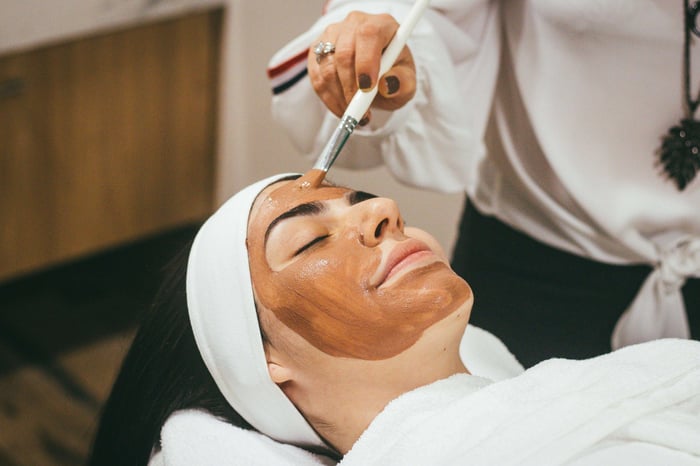
Facials
Here’s where things get fancy: there is nothing stopping you from going ham on at at-home facial, treating yourself to the works with a glass of fizz and a Netflix marathon (highly recommended: the escapist ridiculousness of Selling Sunset).
Things you can do at home with little to no effort or expense:
- Cleansing: double cleanse for extra oomph. Use an oil or cream cleanser to remove makeup, grime and pollution from the skin, then follow up with a gentle foaming cleanser for a deep clean.
- Steaming: fill a basin with hot water, then hold your face over it, draping your head in a towel to keep in the steam.
- Masks: store-bought masks are always an option, but you can cut down on waste and expense by making your own moisturizing avocado mask. Mix some ripe avocado with a little organic yogurt and a squeeze of honey. Apply to your face and remove once it’s dried out (10-15 mins).
- Exfoliate: this is both one of the best and one of the worst things you can do for your skin. Removing dead skin cells and freshening the surface of the face? Amazing! But exfoliating too often can strip the skin of vital oils and leave it dehydrated or even result in the face getting oilier as the skin battles to replace what’s been lost. As a once-a-week treat, though, a facial scrub can be very revitalizing, and you can easily make one up with ingredients from your kitchen.
- Moisturize: this is something we should be incorporating in our routine anyway, but especially after a multi-step facial routine. Replenish that lost moisture, STAT!
As for the steps you should avoid, invasive treatments like chemical peels are best left to the experts, who will be able to judge from the condition of your skin which acid treatments will suit you best. And as for extractions? Try – we know it’s hard! – to avoid picking at your skin if you can help it. If you must, try gently extracting blackheads with cotton buds after steaming. But stop if you’re causing yourself pain or your skin is starting to redden or bleed. And as for needles to “pop” blemishes?! Don’t even think about it.
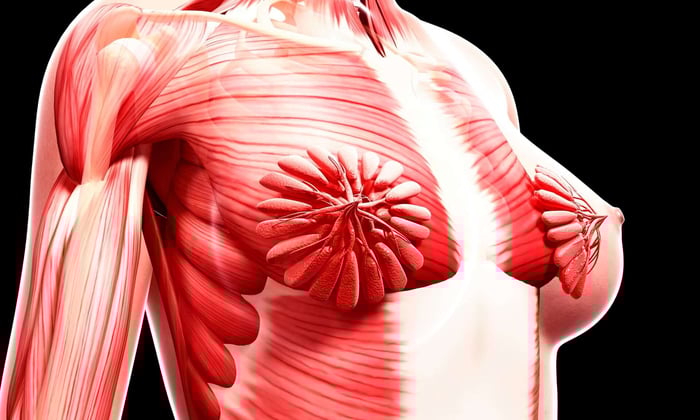
Massage
If you’ve never attempted to give someone a massage, you may well think it’s easy – but it most definitely is not. The upper body strength required is one thing – not to mention the skills and expertise involved in giving a therapeutic massage that truly helps relax and soothe tired muscles.
For someone who’s dying for some relief for aching muscles – at-home workouts are no joke! – there’s nothing that truly compares to an expert massage, but there are a few at-home alternatives
- Epsom salts bath: soak in a bath with Epsom salts, which can help relieve muscle soreness and aid stress relief and (crucial for recovery) sleep.
- Arnica: a herbaceous plant in the sunflower family, arnica has long been used in gel or cream form to relieve muscle pain and help reduce swelling and bruising.
- Foam rolling: if you’re someone who likes to work out and you haven’t invested in a foam roller, now’s the time. Foam rolling is the closest – and safest – thing you’ll get to a deep tissue massage without having to leave your house, and YouTube is your go-to source for a plethora of how-to videos, to help release even the tightest, tiniest muscles. This sustainable cork foam roller by 42Birds will even look good when you’re not using it.
- If you live with someone who really, really loves you, why not invest in an online massage course for them? Online-only massage courses won’t always lead to professional qualifications – at least not without in-person practical training – but they could learn the basics and soon be providing the type of at-home service you deserve.
Teeth whitening
There’s a reason professional teeth whitening is expensive – and that it often takes weeks, if not months, to achieve the desired result.
Ideally, we only get one set of adult teeth, and the enamel on those teeth can be delicate. Applying cheap, store-bought teeth whitening strips or bleach treatments can erode that enamel, leaving teeth vulnerable to pain and decay.
Ideally, we’d never apply a permanent bleaching solution to our teeth without first speaking with a dental professional. She or he can advise you on an at-home whitening regimen that will be gentle enough for your teeth, which are – surprise, surprise – entirely unique to you! What your teeth will be able to tolerate may be entirely different to what your friend’s teeth can endure, because of genetics, how diligent you’ve been with brushing and flossing, and even the water quality where you live.
Where you are safe to experiment is with whitening toothpastes and gentle remedies such as oil pulling, which claims to gently remove stains from the surface of the teeth. Flossing and twice-a-day tooth brushing are also essential, while keeping up with your regular dentist visits will ensure you don’t get any nasty build-ups.
Of course, avoiding tooth staining in the first place is also wise – but if you can’t quite quit your daily java habit, make sure you’re brushing afterwards or, at the very least, giving teeth a quick rinse with fluoride mouthwash.
Lockdown has us all going a little stir crazy, but we recommend you hold off a little longer on applying harsh chemicals to the only teeth you’ll ever have – you’ll be glad you waited.
Cut your bangs
We’ve all seen that gif - you know, the girl who cuts her own bangs with a razor and... er. It doesn’t go well.
There are two schools of thought when it comes to cutting your hair at home – and no, we’re not talking to the qualified hair stylists among you; you guys are good – the people who think, “it’ll grow back!” and the people for whom a bad haircut would result in them lying in bed for a month. Before you even think about taking a scissors to those bangs, ask yourself: which one are you?
If you’re happy to live with any bang-cutting-related mistakes, laugh it off and take your terrible haircut out into the world, then go ahead and get cutting. If the thought of ending up with Lord Farquaad hair brings you out in a cold sweat, leave well enough alone and invest in some kirby grips until you get back to the salon.
Whatever you do: do not cut under the influence. Use the sharpest scissors you own: a hairdressing scissors is obviously ideal, but failing that a nail scissors will allow for greater precision than, say, a kitchen or paper scissors.
Start off small, trimming teeny tiny bits off the end of your bangs while you work up to your ideal length. Embark upon this project in daylight hours, sitting upright, both feet on the ground, facing a mirror that is tilted at no more than a 120-degree angle.
Cut dry hair only; wet hair will spring up when dry, so the cute eyebrow-slimming bangs you dreamt of may end up being a lot more emo than planned.
If in doubt, enlist a friend to help: they’ll be able to tell you what’s too much (and what’s not enough). But just to reiterate: do not cut under the influence. Three glasses of wine + a scissors = bad, bad news.
The moral of the story is: professionals receive training for a reason. While our stylists and manicurists and facialists make their jobs look hella easy, there’s a lot that goes into mixing chemicals and treating delicate hair and skin with them, and the dangers of the aforementioned should never be underestimated.
If in doubt, leave the grooming to the experts – and remember, when you do make it back to your grooming parlor of choice, tip generously if you can. The Covid-19 crisis has been especially hard on hourly workers and those in the beauty industry will have had a particularly lean couple of months.